

How to Curate a Home Gallery Wall With Intention
Yuatinia LeakQuick Summary
A gallery wall works best when you start with pieces that mean something to you, not with a bundle of frames. Pick five to ten meaningful items, choose one anchor piece, and repeat two or three colors across matching frames. Plan the layout on the floor or on paper before you hang anything.
- Write a list of five to ten pieces that matter to you before buying frames.
- Choose one anchor piece, the largest or most meaningful item, and build the rest around it.
- Leave roughly two to three inches between frames so the eye can rest.
- Trace frames onto kraft paper and tape the shapes to the wall before hanging.
- Keep prints and photos out of direct sunlight and away from humid rooms.
Table of Contents
- Start With the Pieces That Mean Something to You
- Choose One Anchor Piece to Build Around
- Pick a Color Story and Frames That Belong Together
- Mix Photographs, Prints, and Original Art Without Clutter
- Plan the Layout on Paper or Your Floor First
- Measure, Mark, and Hang Without Damaging Your Walls
- Protect Your Art From Glare, Light, and Humidity
- Try a Digital Gallery Wall Layout Generator
- Build Your Wall Over Time and Choose Decor That Lasts
- Frequently Asked Questions
How to Curate a Home Gallery Wall With Intention
Last Updated: November 16, 2026
Start With the Pieces That Mean Something to You
Most gallery walls fail for one simple reason. People buy frames by the bundle and fill the space because it feels empty. The result looks busy but says nothing about the person who lives there.
Here's the better way. Start with the pieces that already matter to you. A travel photo from a trip that changed how you see things. A print your grandmother gave you. A small painting you bought on a day you needed it.
Write a short list of five to ten items. Don't worry about how they'll look together yet. Just note why each one matters.
- Photos that carry a memory
- Art you chose because it made you pause
- Pieces tied to a place or a person
- Objects with a story you enjoy telling
Once the list is done, look for patterns. You may find you love warm earth tones, or a theme like water, or a mix of handmade and vintage work. Those patterns will guide every choice that follows.
Choose One Anchor Piece to Build Around
Every strong wall has a starting point. That's your anchor piece, the one item the rest of the wall supports.
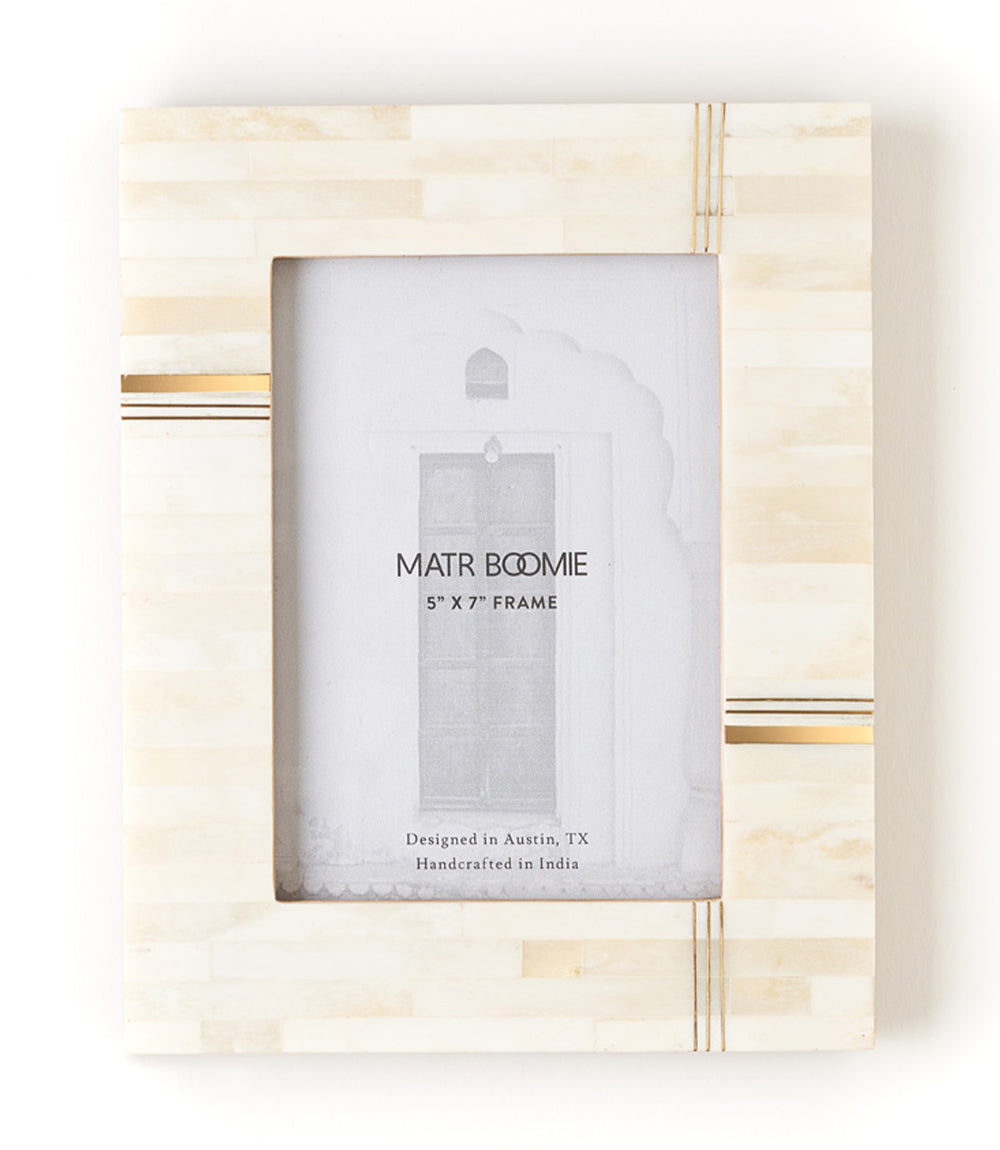
Pick the largest or most meaningful piece on your list. A bold print or a carved frame works well here. The Mukhendu 5x7 Cream Picture Frame with carved bone and a brass bar brings texture and warmth to a wall.
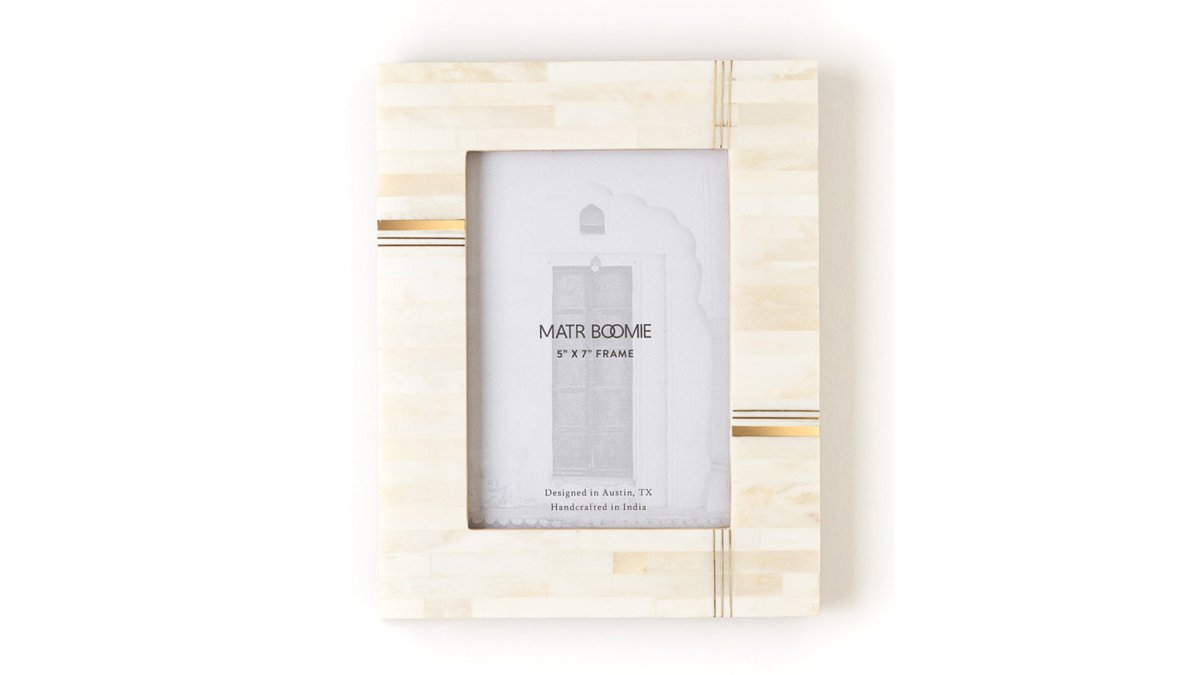
Set the anchor first, then place smaller pieces around it. Leave roughly two to three inches between frames so the eye can rest. Crowding the anchor is the most common mistake we see.
Pick a Color Story and Frames That Belong Together
Frames tie a wall together more than most people expect. Mismatched frames can look random, while a consistent frame family makes even a mixed collection feel planned.
Choose two or three colors to repeat across the wall. Pull them from your anchor piece or from the artwork you love most. A simple story might use cream, warm brass, and deep black.
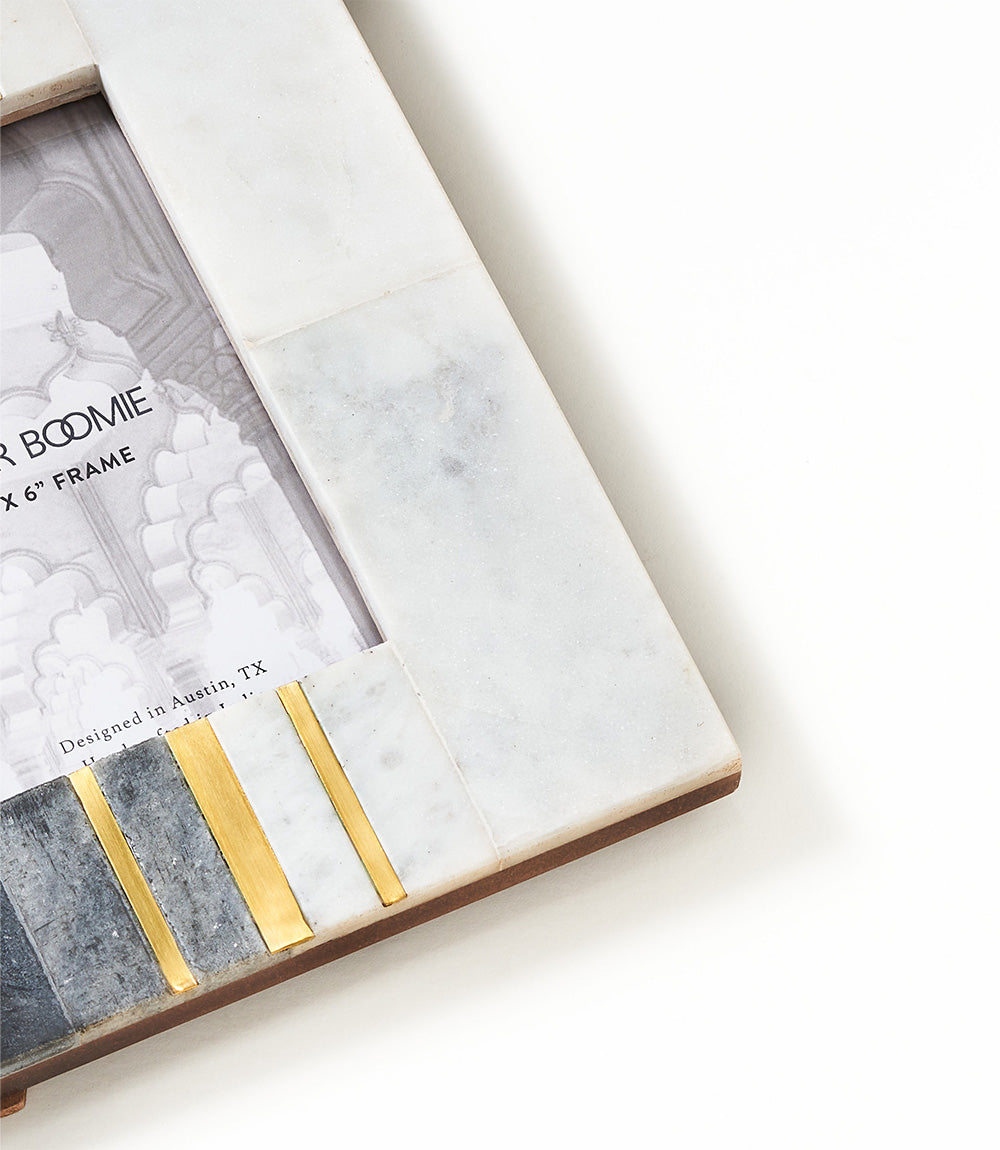
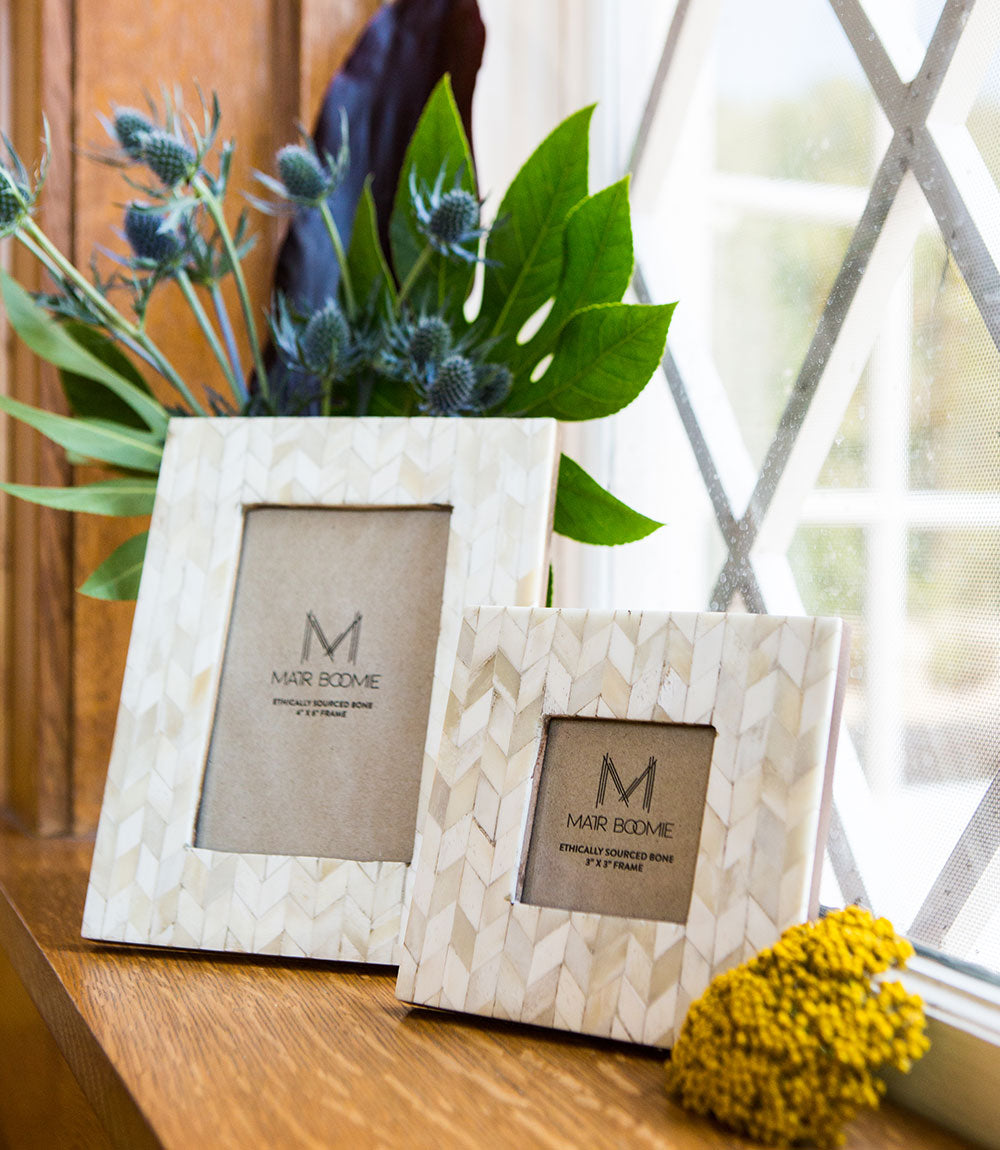
The Sammita 4x6 Black and White Picture Frame in hand-carved marble is a picture frame with brass accents and a glass cover. The Artemis 4x6 Picture Frame in fair trade hand-carved bone features a mosaic chevron pattern inlay.
Mix Photographs, Prints, and Original Art Without Clutter
Mixing media is where many walls go wrong. The fix is not fewer pieces. It is more consistent framing and clearer spacing.
Keep frame finishes within the same color family, even when the subjects vary. Group photos in one cluster and original art in another, then link them with a shared frame. The second Mukhendu 5x7 frame, with carved bone and a brass accent, holds a 5x7 photo or print.
Give each cluster breathing room. If two groups feel crowded, remove one piece before you adjust spacing.
Plan the Layout on Paper or Your Floor First
A gallery wall lives or dies before the first nail goes in. Plan the whole arrangement first, and you avoid a row of patched holes.
Start on the floor. Lay your frames face up in front of the wall. Move them until the group feels balanced. Step back and take a photo from standing height. Photos expose gaps your eye skips in person.
Then move to paper. Trace each frame onto kraft paper and cut the shapes out. Write the frame name on the back of each cutout. Tape the shapes to the wall with painter's tape. This is the step most people skip, and it is the one that saves your walls.
Here is a simple measuring routine that works for any wall:
- Measure the full width and height of your wall space
- Note the width of any furniture below, like a sofa or console
- Keep the arrangement about two-thirds the width of that furniture
- Mark the center line of the wall with a light pencil dot
- Build the paper layout around that center line
A layout that looks balanced on the floor can feel top-heavy once it is vertical. Tape the paper shapes up and live with them for a day before you commit.
If paper feels fussy, try a digital preview first. Many free layout tools let you upload a photo of your wall and drop in frame sizes. Enter the exact dimensions of each frame and drag them into place. Try three or four versions. Save the one you like and use it as your paper template guide.
Digital tools help with spacing and scale. They cannot replace seeing the arrangement in your own room. Use them as a starting point, then confirm on the wall with paper.
One more check before you hang. Stand where you will actually view the wall most often. Sit on the sofa. Walk up the stairs. The best layout looks right from the spot where you spend the most time.
Measure, Mark, and Hang Without Damaging Your Walls
Hanging is where good plans meet real walls. The right method depends on what your wall is made of and how heavy your frames are.
Start with height. Most people place the center of the arrangement at about 57 inches from the floor. That is roughly eye level for an average adult. If the wall sits above a sofa, keep the bottom edge about six to eight inches above the sofa back.
Measure the distance from the top of each frame to its hanging point. Mark that spot on the wall with a light pencil. Use a level on every frame. Hang the anchor piece first, then build around it.
Now match your hardware to your wall:
- Drywall with wood studs: use a stud finder and drive screws into the studs for heavy pieces
- Drywall without studs: use self-drilling drywall anchors rated for the frame's weight
- Plaster walls: use a carbide bit and anchors made for plaster, since plaster cracks under pressure
- Brick or stone: use masonry anchors and a hammer drill
For renters, removable adhesive strips work well for light frames. Check the weight limit on the package before you buy. Most strips hold a few pounds each, so use several per frame. Heavier carved frames and mirrors need a hook or anchor, not strips.
Watch out: adhesive strips can pull paint off the wall when removed. Test one strip in a hidden corner first, and warm the strip with a hair dryer before you peel it off.
A few safety habits matter with heavy pieces. Never hang a heavy mirror or large frame from a single drywall anchor. Use two anchors spaced apart, or hit a stud. Keep heavy pieces out of reach of young children and away from doorways where they could be bumped.
Here is the full routine in order:
- Measure the frame's hanging point
- Mark the spot with light pencil
- Check the mark with a level
- Confirm the hardware matches the wall material
- Hang the anchor piece first
- Add the rest around it
- Step back and check the whole wall from across the room
If a frame sits crooked after hanging, adjust the wire or add a small bumper to the back corner. Small fixes beat new holes.
Protect Your Art From Glare, Light, and Humidity
Good placement protects your work as much as it looks good. Direct sunlight fades prints and photos over time, so keep them out of strong beams (Limiting Light Damage). Bathrooms and kitchens also hold more humidity, which can warp paper and wear frames faster.
Choose a wall that gets indirect light when possible. If a sunny wall is your only option, consider UV-filtering glass for valuable prints. Glass can also cut glare, which helps when you hang frames near a window.
Hang sensitive pieces away from heating vents and radiators. A few small adjustments now prevent big repairs later.
Here's a quick look at the main risks to your art and what to do about each one.
| Risk | Cause | Fix |
|---|---|---|
| Faded prints and photos | Direct sunlight | Hang out of strong beams |
| Warped paper | High humidity in bathrooms and kitchens | Keep away from humid rooms |
| Glare | Frames near a window | Use UV-filtering glass |
| Early wear on frames | Humidity and heat | Avoid high-moisture spots |
| Damage from heat | Heating vents and radiators | Hang sensitive pieces away from them |
Try a Digital Gallery Wall Layout Generator
If floor layouts feel hard to picture, a digital gallery wall layout generator can help. Many free tools let you upload photos of your wall and drop in frame sizes to test arrangements.
Enter the exact sizes of your frames, then drag them into position. Try three or four versions before you commit. Save the one you like best and print the layout at full size if you want a physical guide.
Digital tools are most useful for checking spacing and scale. They can't replace seeing the arrangement in your own room, so use them as a starting point.
Build Your Wall Over Time and Choose Decor That Lasts
Your gallery wall doesn't need to be finished in one weekend. Add one piece each season as you find work that fits your story.
Look for pieces built to last. Solid wood frames, carved bone, and brass accents are sturdy materials. Our collection includes durable furniture and decor for daily use.
Over time, your wall becomes a record of what you have loved. That is the point of curating with intention. Each new piece should earn its place. Our slow fashion home decor plan walks you through building that collection one thoughtful piece at a time.
Frequently Asked Questions
How do you curate a gallery wall?
Start with one piece that matters to you, then build around it. Choose a color story that ties the frames together, mix sizes and media, and lay everything out on the floor before you hang anything. Stepping back often shows you where the balance is off. Keep the wall feeling collected rather than copied by adding pieces slowly over time instead of buying a full set at once.
What is the 2/3 rule for wall art?
The 2/3 rule suggests hanging art so its center sits about two-thirds of the way up the wall from the floor, roughly 57 to 60 inches to the center for most eye levels. For a gallery wall, use that height as your anchor point, then arrange the surrounding frames so the overall group feels centered on the same line. It keeps the arrangement grounded and easy to view from a seat.
How far apart should pictures be on a gallery wall?
Most designers space frames about 2 to 3 inches apart. Tighter spacing makes the group read as one unit, while wider gaps feel airy and deliberate. Keep the gaps consistent across the whole arrangement so the eye moves smoothly from piece to piece. Mix the spacing only if you're doing a looser, more collected look on purpose.
Are gallery walls out of style in 2026?
Gallery walls are still very much in style, especially when they feel personal rather than mass-produced. The look has shifted away from matching frames in perfect rows toward layered, individual pieces that tell a story. A thoughtful wall with a clear anchor and a cohesive palette will feel current because it reflects your taste, not a trend.
