
How to wash outdoor cushion covers: Easy Care Guide
Donna MaloneFiguring out how to wash outdoor cushion covers really just comes down to a few key moves: check the care tag, spot-treat any obvious offenders like mildew or sunscreen, use a mild detergent, and let them air dry completely. Once you get the hang of it, you’ll be able to bring your outdoor space back to life without wrecking the fabric.
Giving Your Patio Cushions a Fresh Start
Let's be honest, your outdoor cushions take a beating. They’re the unsung heroes of your patio or deck, silently enduring everything from pollen and bird droppings to spilled drinks and that greasy film from sunscreen.
Cleaning them isn't just about making them look good—it's essential maintenance. A proper wash preserves the fabric and protects your investment, ensuring you have a comfy spot to relax for years to come. This guide cuts through the fluff and gives you practical, real-world methods for getting those covers clean, whether that means a gentle hand wash or a spin in the machine.
Why Bother With Proper Cushion Care?
Creating a comfortable outdoor oasis is a huge trend. In fact, the global market for outdoor cushions was valued at a whopping $5.7 billion in 2023 and is expected to hit $9.4 billion by 2033. People are clearly investing in their outdoor spaces, which makes protecting those investments more important than ever.
Good maintenance keeps your cushions:
- Hygienic and Safe: It gets rid of allergens, mold, and other gunk you don't want to sit on.
- Looking Sharp: Regular cleaning stops stains and discoloration from becoming a permanent feature.
- Durable and Tough: It protects the fabric fibers and any water-resistant coatings from breaking down.
Choosing Your Cushion Cover Cleaning Method
Before you dive in, it helps to know your options. This table gives you a quick snapshot of the cleaning methods we’ll cover, helping you pick the right starting point for your cushions.
Choosing Your Cushion Cover Cleaning Method
| Cleaning Method | Best For | Key Consideration |
|---|---|---|
| Hand Washing | Delicate fabrics, covers with non-removable inserts, or those with 'S' or 'X' codes. | This is your gentlest option, giving you total control, but it definitely takes more elbow grease. |
| Machine Washing | Tough, water-safe fabrics like polyester or solution-dyed acrylics (but always check the tag first!). | Super convenient for a deep clean, but you have to use a gentle cycle with cold water to avoid damage. |
| Spot Treatment | Minor spills, fresh stains, or fabrics marked with an 'X' code (which means vacuum/brush only). | Perfect for handling little messes right when they happen, preventing them from setting in. |
Making the right choice here is the first step toward a successful wash. The techniques used for outdoor furniture often overlap with those for marine upholstery, which is built to withstand even harsher conditions. You can find some great tips in this guide on cleaning boat seats for lasting results that apply just as well to patio cushions.
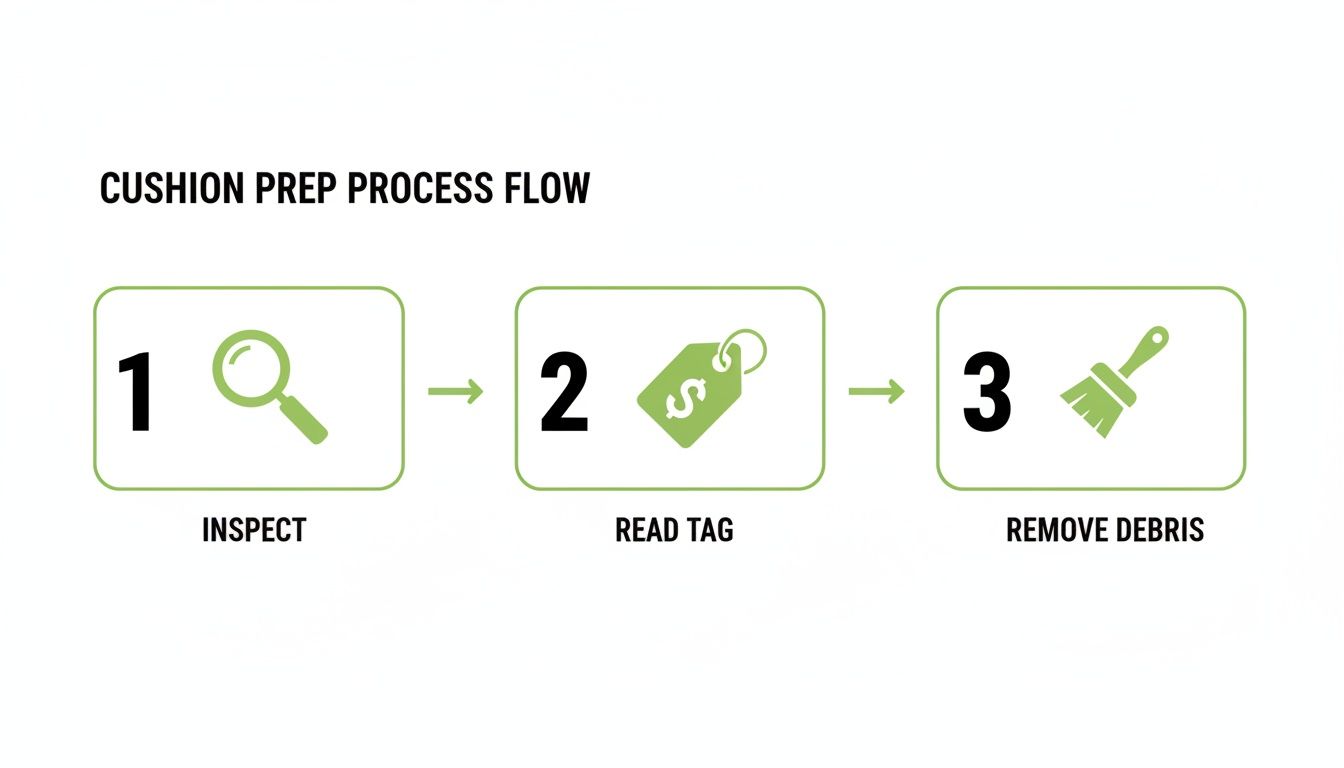
What to Do Before You Start Washing
I know it’s tempting to just chuck those dirty cushion covers straight into the washer and call it a day. But trust me, a few minutes of prep work can be the difference between a successful refresh and a trip to the store for new cushions. Think of it as a quick diagnostic check—it’s how you avoid turning a minor issue into a major headache.
Before a single drop of water touches that fabric, give each cover a good once-over. Pay close attention to the seams and corners. Are there any small tears, loose threads, or frayed edges? The tumbling action of a washing machine can turn a tiny snag into a gaping hole in no time. If you spot anything, a quick fix with a needle and thread now will save you from a much bigger repair job later.
Decode the Care Tag
Alright, now for the most important step: find that care tag. This little label is your roadmap, giving you specific instructions straight from the people who made the fabric. Don't skip this.
You'll usually find one of four standard cleaning codes. Getting to know them is essential.
- W: This is the one you’re hoping for. It stands for ‘Water-Based Cleaner,’ meaning you can safely use water and a mild detergent. These are the easiest to handle.
- S: This means ‘Solvent-Based Cleaner Only.’ Water is the enemy here; it can cause shrinking, water spots, or other damage. You'll need to use a specific dry-cleaning solvent.
- WS or S/W: This is a combination code. You’ve got options—either water-based cleaners or dry-cleaning solvents will work on these versatile fabrics.
- X: The most restrictive code of all. It means you should only vacuum or brush the fabric. Any liquid, whether water or solvent-based, will likely cause irreversible damage.
Pro Tip: If the tag is missing or so faded you can't read it, don't guess. The safest bet is to treat it like an 'X' code. At the very least, you absolutely must perform a spot test before attempting to clean it with any liquid.
How to Perform a Spot Test
No tag? No problem. A quick spot test will tell you if your fabric is colorfast and water-safe. Just find a hidden area on the cover, like an inner seam allowance or the underside flap by the zipper.
Dab a small amount of your cleaning solution (even just soapy water) onto a clean, white cloth and gently blot the hidden spot. Let it sit for a few minutes. Now check for any color transfer on your cloth or any discoloration on the fabric itself. If you see any bleeding or spotting, stick to vacuuming only. If it looks good, you're clear to proceed, but with caution.
Remove All Loose Debris First
Finally, before the real washing begins, you need to get all that surface-level gunk off. I'm talking about leaves, twigs, dust, pet hair—anything clinging to the fabric. Taking a minute to do this prevents you from grinding that grit deeper into the weave when you start scrubbing.
A soft-bristled brush is perfect for gently sweeping away larger particles. For a really thorough job, grab your vacuum and use the upholstery attachment. It works wonders for pulling fine dust and allergens out of the fabric's texture. This simple step lets your cleaning solution focus on the set-in stains, not the surface mess. The type of fabric often determines how much debris it traps; you can explore some of the best materials for outdoor furniture to see how different weaves and finishes compare.
Once you're prepped and ready, it's time to get cleaning.
Hand Washing vs. Machine Washing Your Covers
Alright, you’ve done the prep work—you've inspected the cushions, brushed off the loose gunk, and hopefully found that all-important care tag. Now for the main event: getting them clean.
This is the big fork in the road. Do you roll up your sleeves and hand wash, or do you let the washing machine do the heavy lifting? This isn't just about what's easier; it's about what's safest for your specific fabric. Your due diligence in the prep stage is about to pay off big time.
Whether you’re washing by hand or machine, the goal is a deep clean that brings your cushions back to life without wrecking the fabric. Let's break down both methods.
The Gentle Art of Hand Washing
When in doubt, hand wash. It’s the safest bet for almost any outdoor fabric, especially if you’re dealing with delicate weaves, a missing care tag, or fabrics marked with an 'S' (Solvent-Only) or 'X' (Vacuum-Only) code. Hand washing gives you total control, letting you put a little extra elbow grease into stubborn spots while going easy on the rest.
You don’t need a fancy setup. A clean bathtub or a large utility sink works great. I’ve even used a clean wheelbarrow in a pinch! If you’re working outside, a clean tarp on the grass gives you a massive workspace and keeps your clean covers from getting dirty again.
The right cleaning solution is surprisingly simple. No harsh chemicals needed.
- Mix your solution: Pour about a quarter cup of mild liquid laundry detergent into a bucket of lukewarm water. I always recommend one that's free of dyes and fragrances. Steer clear of hot water—it can shrink or fade certain fabrics.
- Let them soak: If your cushions are looking particularly sad, let them soak in the soapy water for 30 minutes or so. This does half the work for you, loosening up all that caked-on grime.
- Get to scrubbing: Use a soft-bristled brush or a simple microfiber cloth to gently scrub the fabric. A light, circular motion usually does the trick. For those really tough stains, an old toothbrush is your best friend for targeted scrubbing.
Once they look clean, drain the soapy water and give them a thorough rinse with cool water from a hose or bucket. You want to get all the soap out. Any residue left behind is just a magnet for more dirt down the road.
Using Your Washing Machine Safely
Got the green light from the care tag? A 'W' for Water-Based means you can save yourself a ton of time and effort by using the washing machine. But hold on—"machine washable" doesn't mean you can just chuck them in with your towels. There's a right way to do it to avoid disaster.
First thing's first: zip all the zippers closed. It’s a tiny step that makes a huge difference. Those metal teeth are notorious for snagging and tearing fabric in the wash.
Key Takeaway: Always, and I mean always, use the gentle or delicate cycle. The normal cycle is way too aggressive for most outdoor fabrics. It can stretch seams, wear down the protective coating, and just generally beat them up.
The settings you choose are just as important. Use cold water for both the wash and rinse. This is non-negotiable if you want to prevent shrinking and keep your colors from bleeding. Go easy on the detergent, too; a little goes a long way. Using too much can leave the fabric feeling stiff and sticky.
Finally, don’t cram the machine full. Wash just a few covers at a time so they have plenty of room to agitate and get properly cleaned. As soon as the cycle finishes, get them out of there immediately to start the drying process and prevent wrinkles from setting in.
Tackling Tough Stains Like Mold and Mildew
Sometimes, even after a good wash, you're left with a few stubborn spots that just won't budge. I'm talking about those dark specks of mildew, greasy sunscreen smudges, or the dreaded dollop of tree sap. This is where you have to get a little more specific with your attack plan.
The trick is to match your treatment to the stain. You wouldn't use the same method for a grease mark as you would for a patch of mold, so figuring out the culprit is always the first move. Let's go through the most common offenders.
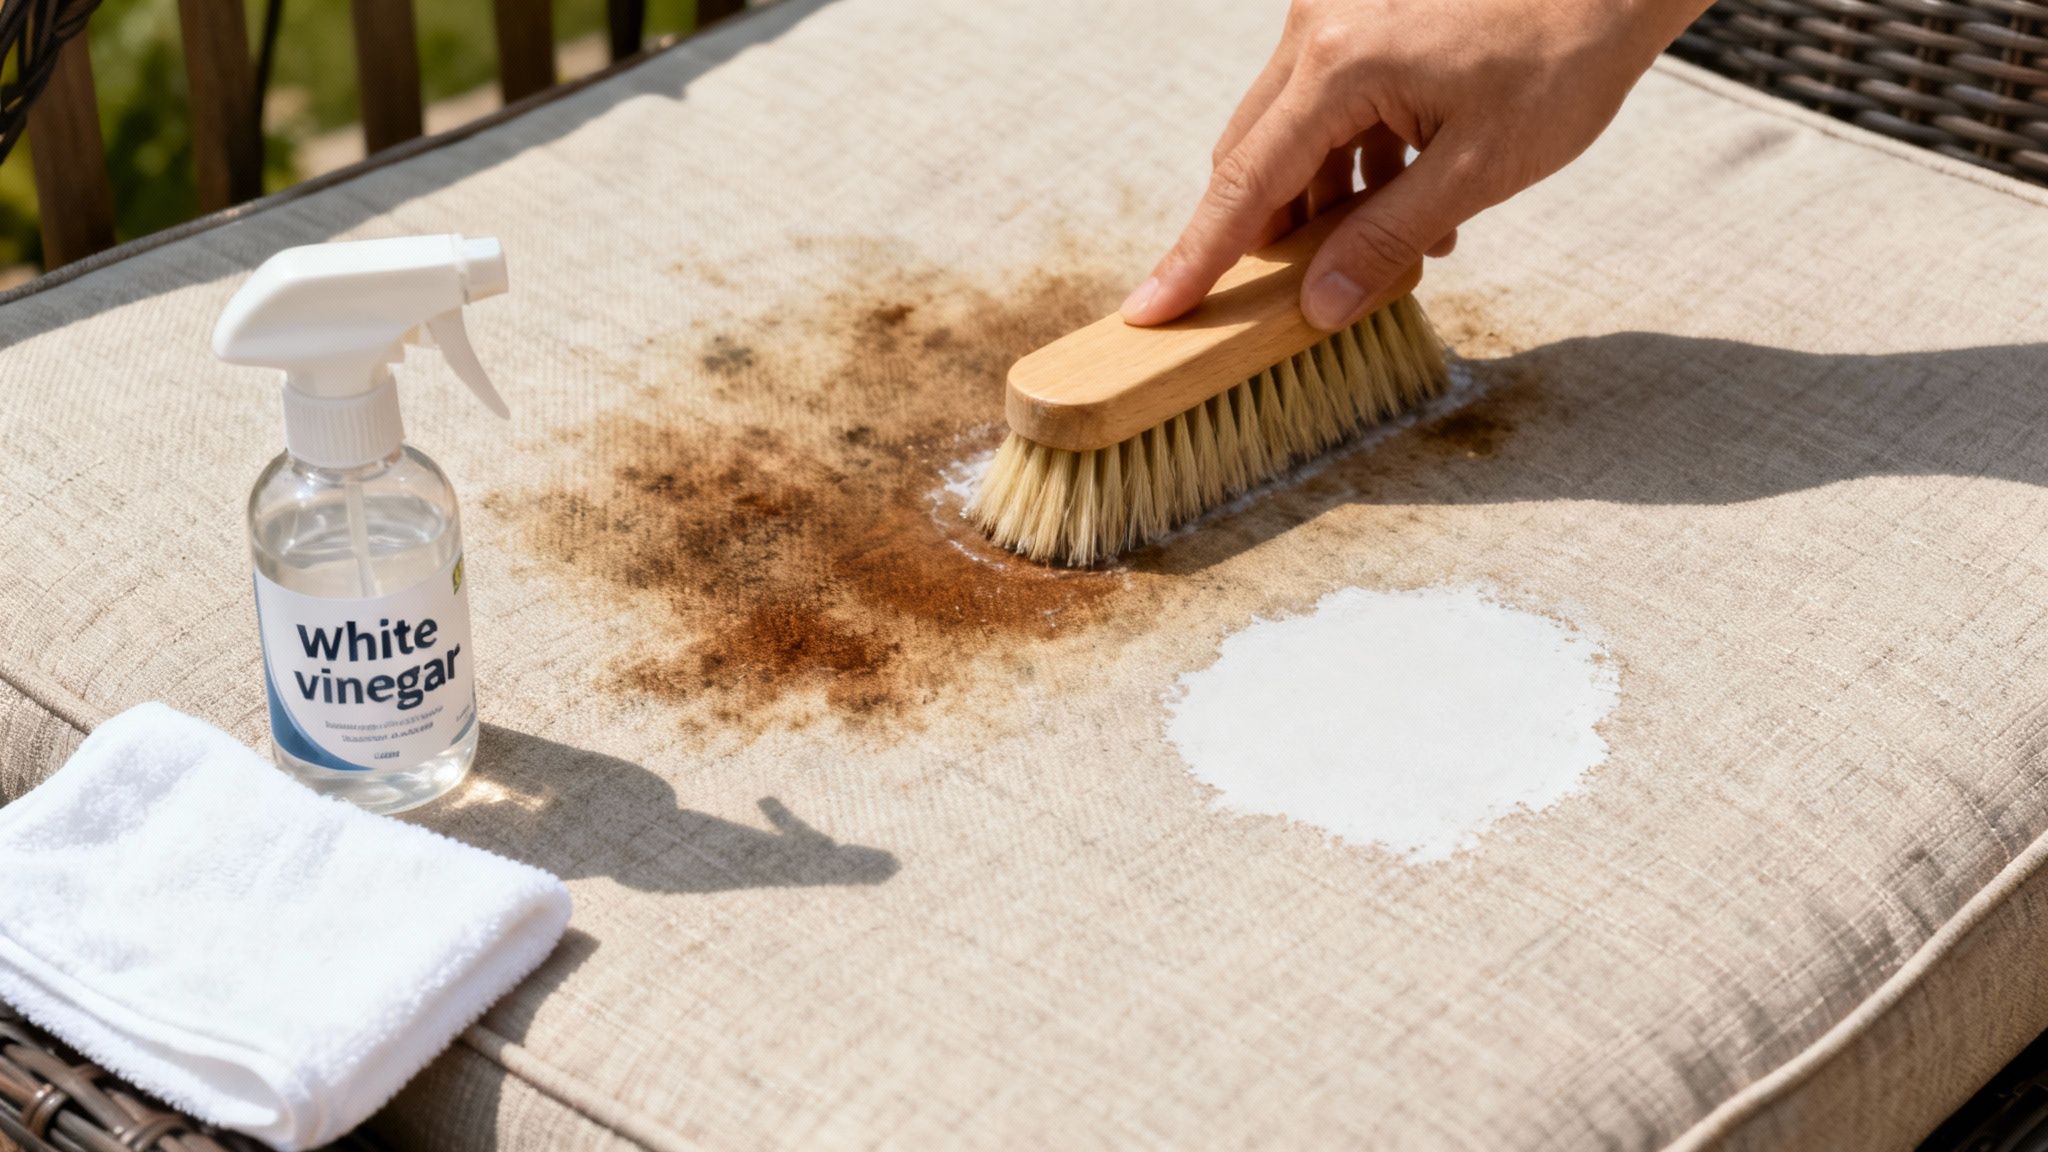
Banishing Mold and Mildew
Mold and mildew are, without a doubt, the most common headaches for anyone with outdoor fabrics. Those ugly black or green spots are more than just an eyesore; they’re living organisms that can eat away at the fabric and leave behind a musty smell.
Thankfully, you don't need to reach for harsh chemicals. White vinegar is your secret weapon here. Its natural acidity is fantastic at killing mold spores without bleaching most fabrics.
- Mix up your solution: Combine equal parts white vinegar and water in a spray bottle. If you’re dealing with a really stubborn patch, you can go straight for the undiluted vinegar.
- Spray and soak: Hit the affected areas with your solution until they're completely saturated. Let it sit for at least 15-20 minutes. This gives the vinegar time to really get in there and do its job.
- Scrub and rinse: Grab a soft-bristled brush and gently scrub the spots. You’ll start to see the stains lift away. Finish by rinsing the area thoroughly with clean water to get rid of any lingering vinegar and grime.
This same approach works wonders for other large outdoor textiles. In fact, many of the techniques for cleaning RV awnings apply here, as they're also constantly exposed to the elements.
Dealing with Sunscreen and Greasy Food Stains
Sunscreens, lotions, and the occasional dropped burger can leave oily residues that are magnets for dirt. Water alone just smears them around. The key here is to pull the oil out of the fabric first.
Cornstarch is perfect for this. Just sprinkle a heavy layer right on top of the greasy spot, making sure it’s completely covered. Let it sit for at least 30 minutes. It acts like a little sponge, soaking the oil right up.
Once the time is up, scrape off the powder. If there's still a mark, dab a little mild dish soap on it—the kind designed to cut through grease. Gently rub it in, let it sit for a few more minutes, and then rinse it clean.
Getting Rid of Bird Droppings and Tree Sap
Organic messes like bird droppings, squished berries, or sticky tree sap are protein-based. This means they need a special kind of cleaner to break them down.
An enzymatic cleaner is your best bet. These cleaners use enzymes to literally digest the proteins in the stain, breaking it apart from the inside out. You can find them right in the laundry aisle.
Here's how to use one:
- First, gently scrape off any solids from the surface.
- Apply the enzymatic cleaner directly to the stain, following the instructions on the bottle.
- Give it time to work. Most products need about 15-30 minutes for the enzymes to do their thing.
- Finally, blot the spot with a clean, damp cloth or give it a good rinse before you throw the cover in for a full wash.
By spot-treating these specific stains before the main wash, you give yourself a much better shot at getting your cushions looking brand new again.
Drying and Reassembling Your Cushions Correctly
You’ve done the heavy lifting and your cushion covers are finally clean. It's a great feeling, but don't rush the finish line—how you dry and reassemble them is just as important as how you washed them. Getting this part wrong can lead to mildew, shrunken fabric, or a lumpy mess that just looks… off.
Trust me, improper drying is the number one reason people run into trouble after washing their cushions. It’s tempting to just toss the covers in the machine dryer and be done with it, but that convenience can cost you dearly.
Why You Must Skip the Machine Dryer
The intense, high heat of a tumble dryer is public enemy number one for most outdoor fabrics. It can cause a surprising amount of irreversible damage in a single cycle.
- It melts protective coatings: That water-resistant or UV-protective finish on your fabric? High heat can degrade or literally melt it away, leaving your cushions defenseless against the elements.
- It can shrink the fabric: Even the slightest shrinkage can turn a perfectly good cover into something you can't possibly wrestle back onto the foam insert.
- It can warp synthetic fibers: Materials like polyester and acrylic can get distorted and lose their shape when blasted with that kind of heat.
Expert Insight: The fastest way to ruin your investment is to put it in the dryer. Unless the care tag explicitly says it’s okay, always air dry. It's the only way to preserve the fabric's integrity and ensure it still fits.
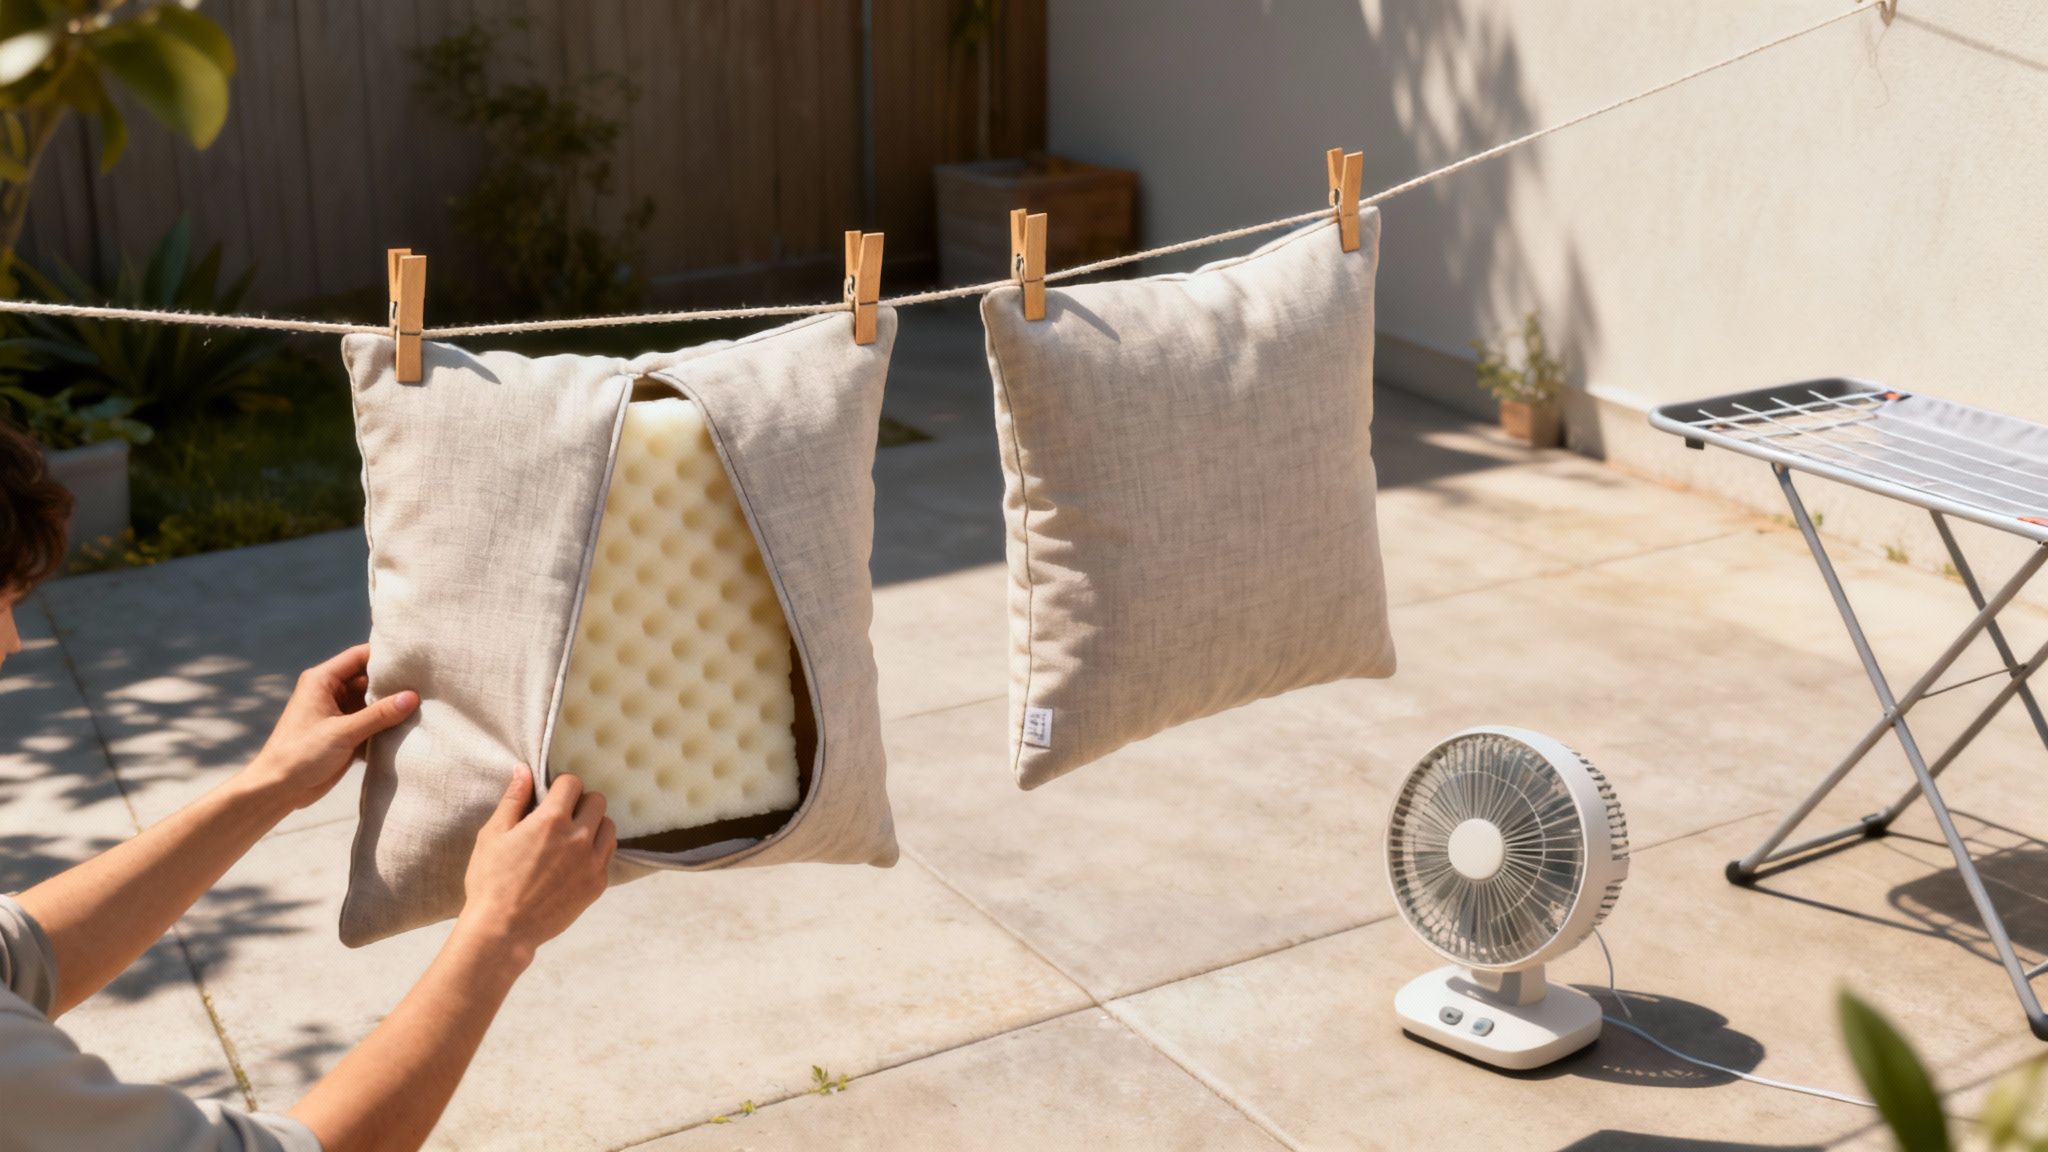
The Best Techniques for Air Drying
Air drying is your safest—and honestly, most effective—bet. The goal here is simple: maximize air circulation to get every inch of that fabric completely and evenly dry.
Your best bet is to hang the covers on a good old-fashioned clothesline or a drying rack. This lets air flow freely around both sides of the fabric. If you can, pick a spot that's shady or only gets partial sun; this helps prevent the sun's harsh UV rays from fading those vibrant colors you paid for.
No clothesline? No problem. Laying them flat on a clean drying rack or even draping them over the backs of a few patio chairs will work. Just remember to flip them every couple of hours to make sure both sides get their turn.
Speeding Up the Drying Process
Patience is a virtue, but sometimes you just want your patio back. To hurry things along without causing damage, set up a simple box fan or an oscillating fan nearby. The constant airflow will slash the drying time without resorting to destructive heat.
Before you even think about putting the foam back in, make sure the covers are 100% dry. I mean bone-dry. Pay extra close attention to the seams and around the zippers, as these thicker areas love to hang onto moisture. Any dampness left behind is a welcome mat for mildew.
Reassembling Without the Struggle
Getting a snug foam insert back into a freshly cleaned cover can feel like a full-blown wrestling match. The secret isn't brute force—it's about reducing friction.
Here’s a little trick I call the "fold and slide." Bend the foam insert in half, like you’re making a taco. Hold it compressed and slide it into the cover. Once it's mostly inside, let go and allow the foam to expand back into shape.
From there, it’s all about the details. Gently nudge and adjust the corners of the foam until they line up perfectly with the corners of the cover. A little patience here goes a long way in avoiding frustrating lumps and bunching. Once it’s all aligned, zip it up slowly, and your cushions will look fantastic.
Keeping Your Cushions Clean All Season Long
Getting your cushion covers sparkling clean is a fantastic feeling, but the real victory is keeping them that way. Proactive maintenance is your best defense against having to repeat a deep clean every few weeks—and it saves you a ton of time and effort in the long run.
Constant exposure to the elements means outdoor furniture requires more upkeep, and the cost of specialty cleaners and protectors can really add up. This is exactly why knowing how to wash outdoor cushion covers properly is so important; smart care directly impacts how long your cushions last and how good they look. If you want to dive deeper into the consumer side of things, check out this in-depth market research on outdoor cushions.
Restore Protection After Washing
A good, deep clean is essential, but it can also strip away the factory-applied water-repellent and UV-resistant coatings that protect the fabric. The first thing you should do after washing is reapply that protective barrier.
Look for a quality fabric protector spray made specifically for outdoor textiles. Once your covers are completely clean and bone-dry, apply a light, even coat, holding the can about six to eight inches from the surface. Let it dry fully before putting the cushions back outside. This simple step makes water bead up and roll right off, and it’s a game-changer for preventing sun-fading.
Create a Simple Maintenance Routine
A little bit of consistent effort goes a surprisingly long way in preventing dirt from building up.
- Weekly Brush-Down: Once a week, grab a soft-bristled brush and sweep away dust, pollen, and any other loose debris. It takes less than five minutes and stops that grime from getting ground into the fabric.
- Immediate Spot-Cleaning: Spills happen. The moment one does, act fast. Blot the liquid with a clean cloth—never rub—to absorb as much as you can. A quick spot treatment can stop a minor mishap from becoming a permanent stain.
- Regular Fluff and Flip: Don't forget to rotate and fluff your cushions weekly. This simple habit ensures they wear evenly and get equal sun exposure, so you won’t end up with one side that’s faded or flat.
This "little and often" approach is the secret to maintaining all your outdoor textiles. In our guide on how to clean indoor-outdoor rugs, we talk about the same principle of regular sweeping to keep things looking fresh.
Store Your Cushions Smartly
When the season winds down, how you store your cushions is just as critical as how you clean them. Tossing them into a big plastic bin might seem like the easy route, but it's a recipe for disaster. Plastic traps moisture, creating a humid little greenhouse perfect for mold and mildew.
Key Takeaway: Always use breathable storage bags designed for outdoor cushions. They protect against dust and pests while letting air circulate, which prevents that musty smell. Just make sure your cushions are impeccably clean and completely dry before you pack them away for the winter.
Got Questions About Washing Your Outdoor Cushions? We’ve Got Answers.
Even the best-laid plans can hit a snag. As you get into the thick of cleaning your cushions, a few specific questions are bound to pop up. Here are some quick answers to the most common dilemmas people run into.
Should I Just Use a Pressure Washer and Get It Over With?
Tempting, I know. A pressure washer looks like the ultimate shortcut for blasting away dirt, but it’s a shortcut you’ll regret. The high-powered stream is way too aggressive for most fabrics—it can easily shred seams, wreck the fabric's weave, and completely strip off any water-repellent coatings.
Your best bet? Just stick with a regular garden hose fitted with a gentle spray nozzle for all your rinsing needs.
Help! The Foam Inserts Got Soaked. What Now?
It happens. If the inner foam or fill gets wet, the number one priority is drying it out completely to stop mildew in its tracks.
Don't lay it flat. Instead, stand the insert up on its long edge in a sunny, breezy spot. Propping it up this way lets air circulate all around it, which makes a huge difference in drying time.
My Go-To Trick: Before you set it out, give the insert a good, firm squeeze (but don't twist it!) to push out as much water as you can. Whatever you do, never put foam inserts in a machine dryer. The intense heat will make them brittle and can even cause them to shrink or crumble.
The Care Tag Is Faded or Missing. What’s My Next Move?
When you’re flying blind without a care tag, the golden rule is to play it safe. Assume you're dealing with the most sensitive fabric out there (what the pros call an 'X' code). This means you should stick to gentle hand-washing and spot-cleaning only.
Before you touch it with any kind of liquid cleaner, a spot test on a hidden area isn't just a suggestion—it's absolutely essential.
Can I Use Bleach on Those Really Stubborn Mold Stains?
Put the chlorine bleach away. It’s far too harsh for outdoor fabrics and will likely leave you with faded, blotchy spots and weakened fibers.
For tough mold or mildew, a simple solution of equal parts white vinegar and water is a much smarter move. It's surprisingly effective at killing the spores without being destructive to the material itself.
Now that your cushions look brand new, maybe it's time for the rest of your patio to catch up. At Fluent Trends, we've brought together a collection of designer-approved outdoor furniture, decor, and rugs to help you build that stylish backyard escape you've been dreaming of. Come see what's new